Wednesday, May 11, 2011

Final Project : Collection of Objects: A Biographical Toy

For my final project, I had to do something that was a "biographical" toy and also had to be made out of recycled objects.  The task at first was hard, but once I figured out what I was doing, the process was easy!  I decided to do a Mr. Potato Head.

Materials Used: Balloon, Newspaper, Elmers glue and water (for paper mache), paint, exacto knife, scissors, hot glue gun, and more recycled objects.

Researched Images:


Reconstructing it:

 1. I took a balloon and put paper mache over it.  I made the paper mache with elmers glue and water and ripped up newspaper.  I put about 4 layers of newspaper on it so it was sturdy and then let it dry over night.

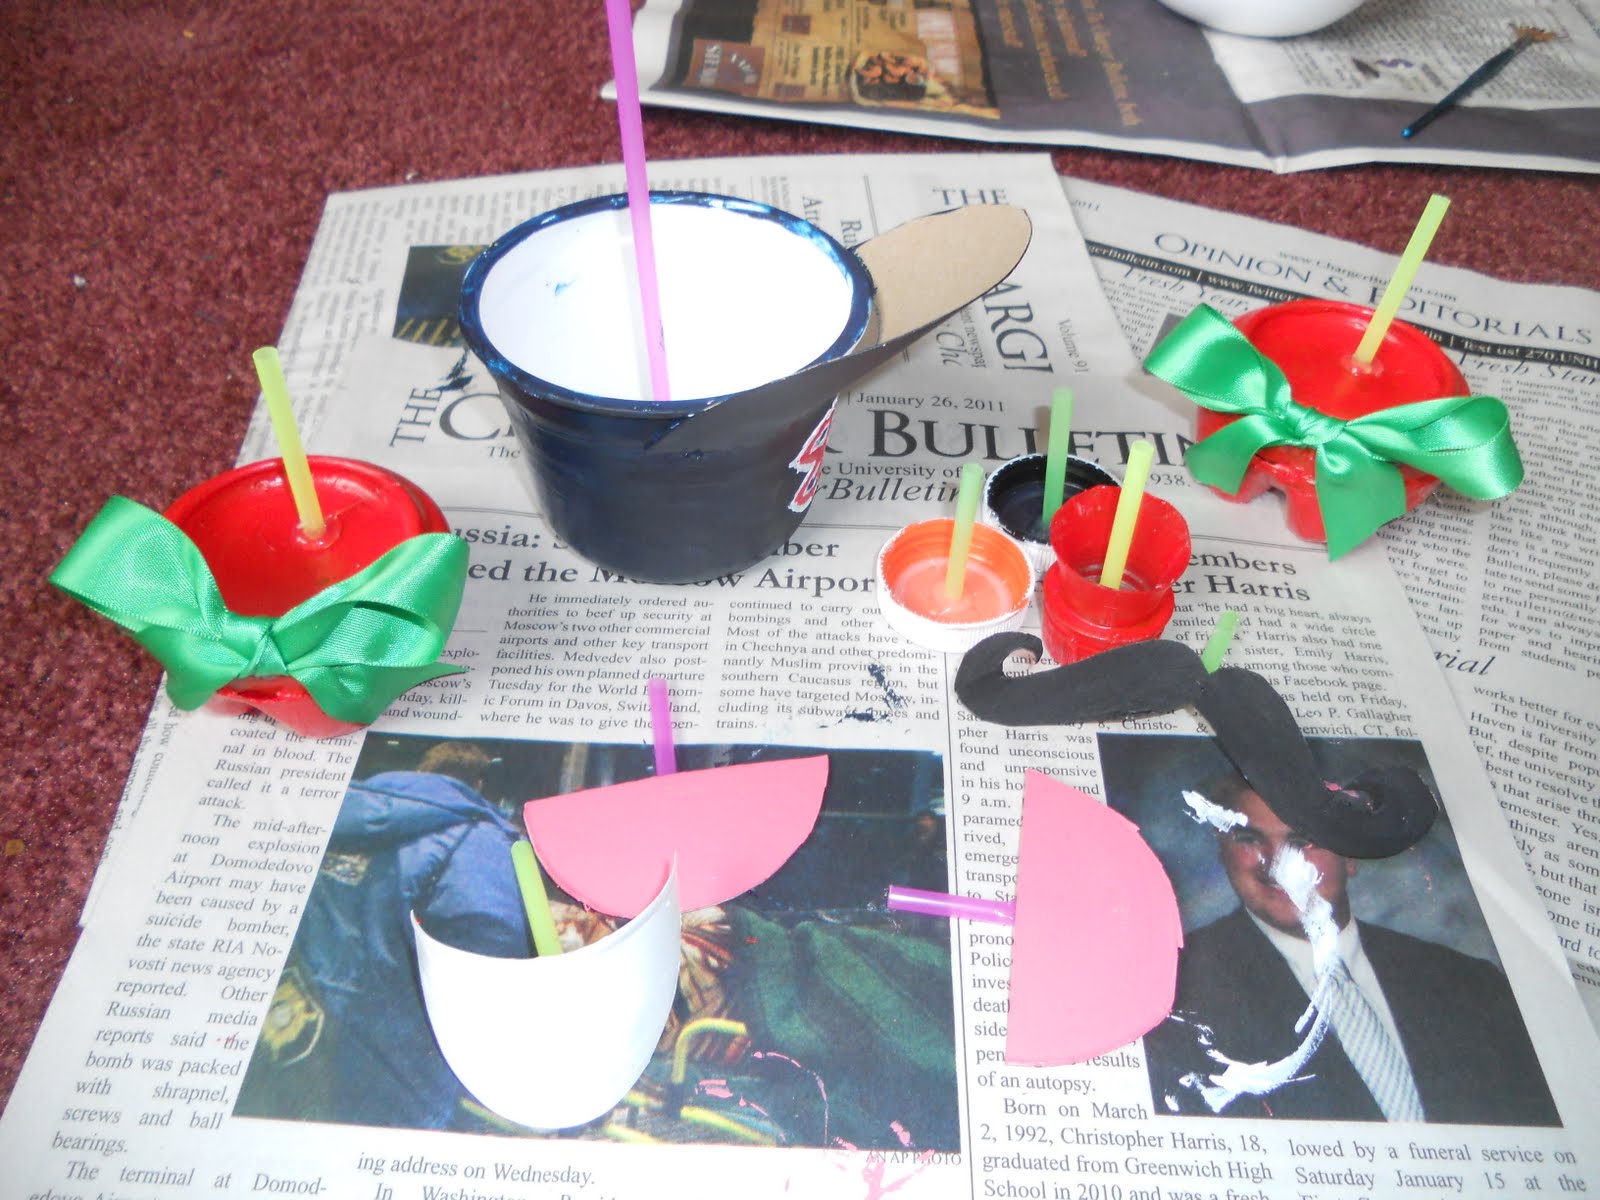
 2. I made a baseball cap with an Easy Mac container and cardboard for the brim.  I then painted it navy blue and put a Boston Red Sox B in it, for my favorite baseball team.

 3. Then I made shoes with a bottom of a plastic soda bottle and then a bottom of a metal soda can and then painted it red and put a green bow on both of them.
4. Then for the eyes I used Gatorade caps and painted them white then black pupils.

5.  Then for the nose I took the top of a plastic soda bottle and cut it and painted it red.

6. Then for the mustache, I cut it out of cardboard and painted it black.

7. Next for the mouth, I took a piece of plastic from a soda bottle and made it into a mouth and painted it white.

All of the body parts (except for the ears) together
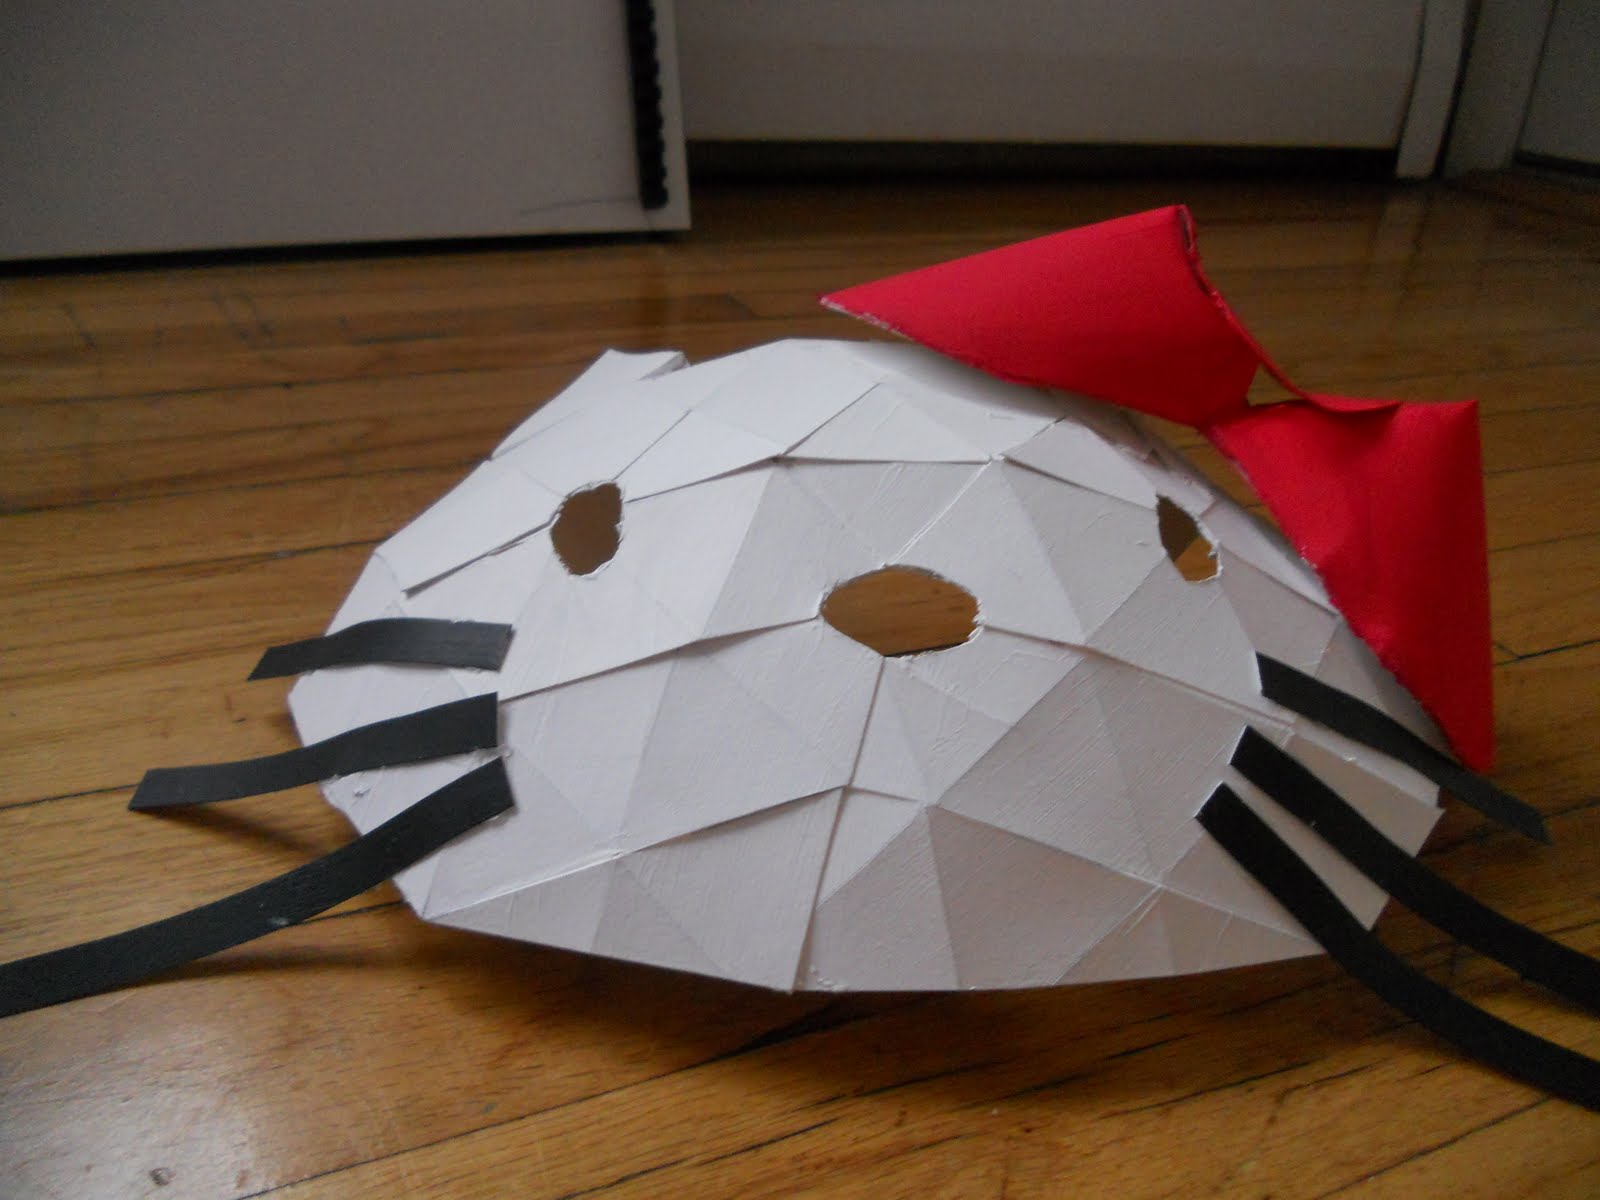
I made the ears out of styrofoam and painted them pink.

8. I painted the body a light brown, and then let it dry.

9. Next, I put straws on all of the body parts so i could stick them into the body of the potato.

10. Finally, I put holes into the potato body, and then put all the body parts on and it is complete!!


Reaction Essay:

        For my Final Project I decided do remake a Mr. Potato Head.  The assignment was to make a children toy, but the catch was to make something that is biographical to you and is also made out of recycled material.  I didn't know what I wanted to do at first, and it took me a long time to figure out what to do but two days before the final I decided to make a Mr. Potato Head.  Mr. Potato Head was originated in Pawtucket, Rhode Island, At Hasbro.  I was born in Rhode Island, and moved to Massachussets in third grade but I still spent most of my time in RI and consider it my home. I even work in Pawtucket, and drive by Hasbro everyday for work.  You can even see big sized Mr. Potato Heads all around Rhode Island, and every one of them is different.  The fact that Mr. Potato Heads were invented in Rhode Island, and I was born in Rhode Island seemed to work for the assignment because it was were I have came from, and I also love potatoes.
        When I had to reconstructed the project, I started by taking a blown up balloon I had from my birthday and decided to put paper mache on top of it.  I mixed elmers glue and water and ripped up newspaper and started making the hard surface.  While I let that harden, I made the body parts for the potato head.  I started by making a baseball hat with an Easy Mac container and cardboard, and I painted it navy blue and put a Boston Red Sox sign on it.  Then I made eyes with Gatorade caps and painted them white with black pupils. Next, I made a red nose with the top of a Coca Cola bottle.  Then I made feet with the bottom of a plastic soda can, and a metal soda can and glued them together and painted them red and put a green bow on them.  And last I made pink ears with styrofoam. I let all of it dry and then painted the paper mache a light brown, and then stuck straws on each items so i could stick them into the potato.  Last I poked holes into the potato and then put the body parts in and I was done!
      Making the Mr. Potato Head was fun and wasn't too hard for me.  I liked having to look around my apartment for recycled materials to use to the body parts of the potato.  It made you be creative with your mind; which I enjoyed.  The only thing that was a challenge for me was to pick a toy to do because I didn't want to make a stuffed animal or a board game, but I'm glad I made a Mr. Potato Head because I think it was a perfect choice.  I didn't have any problems building my model, it was just a pain to have to wait for the paint to dry because I was so anxious to finish it and see the final product! Overall, I was very pleased with my final project and I wouldn't do anything differently.

Sunday, April 24, 2011

Project 3: Polyhedral Structures

Phase A:
For the project, Polyhedral Structures Phrase A, I had to make a mask using at least 3 different polyhedral structures of your choice.  It took me awhile to decide on what I wanted to make.  I had a lot of different options in my mind but after awhile I decided to make a mask out of my favorite cartoon, Hello Kitty.

Materials Used: scissors, exacto knife, hot glue, bristle board, and paint.

Research Images:


The Final Project:


My approach towards the mask project was to make something I was familiar with with is my favorite cartoon character, Hello Kitty.  I started with using the polyhedral, Snub Cube, I didn't make the shape it was suppose to be but I used the folds and made the face of Hello Kitty curve and come out as it did in the pictures above. Then the second polyhedral, Triangular Prism, for the ears of the cat. Next, I used the last polyhedral, Oloid, for the bow, I used two of them and stuck them together and put a circle in between them to make it look more like Hello Kitty's bow. I ended Hello Kitty's look by putting whiskers on her and cutting out holes for the eyes and nose. Last thing I did for the mask was at the typical hello kitty colors, white, black, and red, and then my mask was finished.  It wasn't a challenge reconstructed the mask, the only challenge was to pick out what my mask was going to be, but after a lot of procrastination I figured it out.


Phase B:
For the project, Polyhedral Structures Phase B, Interior Design students had to make a wall structure using polyhedrals. I found a polyhedral that i liked and went with it.

Materials Used: Bristle board, exacto knife, scissors, hot glue, paint.


The Final Project:


My approach towards the wall structure was to make something that was going to be pleasing to the eye, have color, and some sort of negative space. For the whole project I used a polyhedral that was called, Two Asymmetric Pyramid, and I used four of them.  I started making one and I decided to make a pretty design using flowers and adding negative space to it.  Just one of the polyhedrals alone took me forever, so I wasn't excited to do a lot more of them so i figured i would make two of them have designs and the other two have a plain color and then hot glue them all together. It was frustrating putting them together because the structure didn't want to stay up at some points, but I made it work.  It didn't take me much time to figure out what I was doing, unlike all the other projects I've done, but it did take me awhile to reconstruct it, but in the end I was pleased with the outcome.

Sunday, March 20, 2011

Project 2: Serial Planes Studies

For the project, Serial Planes Studies Phase A, I decided to take the two Outcast United Books and turn it into some creation.  I wasn't sure what I wanted the book to become so I started off with possibly making the book look abstract but when I was in process of cutting and folding it, it started to have the look of a star, so I decided to stick with making my book look like a star.

Materials used: ruler, scissors, hot glue gun.

My sketch:


How I reconstructed it:
1. First, I decided to use my old Outcast United book for the project. It wasn't too big or too small.

2. Then, I wasn't so sure what I was going to make out of my book so I decided to just wig it and started folding each page, but I took off 1/8 of each 3 sides of the page and then fold them in and it ended up looking like the picture above.

3. I decided to keep on doing the same pattern because I wanted to stay consistent. 

4. Once I finished reconstructing the book, it didn't look done yet.  I noticed it started looking like a star, but I didn't have any more pages left so all I could think of was to get another one of the same book.

5. I ended up finding the same book and did the same thing to it and just added on to the other book until my star was complete.


6. Finally, I hot glued the two books together and my star was completed!


For the project, Serial Planes Studies Phase B, I had to create a three-dimensional abstract or representational form using white foam core board. For awhile when I was doing my sketch model I thought I wanted to do something abstract, but when I started to do the real model I decided to do an alligator.

Materials used: exacto knife, cutting mat and hot glue gun


Research images:


Sketch model:
When I created my sketch model  i just used these arrow shapes that were the same side and stayed consistent.  I didn't know what I was making so I went with what the picture shows and I didn't really like it, but it did remind me of my favorite animal, an alligator.  It looked like the back of an alligator, so I decided to make an alligator serial plane.

How I reconstructed it:
 1. First, I got a big piece of white foam board to start my alligator!
 2. I started to cut shapes and make each shape bigger to make it look like the tail of the alligator was getting bigger and then I would hot glue a little piece of foam board in the middle of the two pieces.

 3. I continued to do the same pattern and make the belly of the alligator.

4. Next, I made the feet for the alligator (they might be too small, but they seem to work for me)


5. Last, I constructed the face of the alligator which was probably the hardest part. I struck with keep the same pattern but I wanted to make the mouth open, for it to look more realistic. I accomplished what I planned to do and even gave the alligator teeth.


 6. Finally, my alligator was completed!


      In both the serial plane projects I never knew what I wanted to do which either of them.  It was tough for me to figure out what I would do with them, but I know with any project it has to be something I know I'm going to be interested in making.  On the book project, I researched on Google what other people have done when they reconstructed a book.  When I saw a lot of pictures, I knew I wanted to do something consistent and definitely didn't want to do something abstract. When I started to do my book project, I wasn't sure what it was going to come out looking like but I just decided take the book and just go with something or I would never finish it.  When I began to reconstruct it, it was hard to deal with all the papers that got in the way and it was extremely annoying to measure and cut every page the exact measurement it had to be.  But it the end, when my book looked like a star and it looked clean; i was very happy with the end result.  There is nothing i would change about the project, expect if I were to do it again I would pick a book that had more pages just so I wouldn't have to glue two books together.  But you cant even tell that's there's two books in my project, so it wasn't a big deal at all. Overall, I am very pleased with my project, and it has been my favorite project so far.
      When I had to research for the foam board project, that was the hardest one out of all the projects so far.  I was so unsure about what I wanted to make out of foam board.  It took me awhile just looking at pictures online that I thought looked cool and that I could possibly recreated.  There were a lot of pictures that were amazing but I didn't want to make something that looked just like the picture I saw.  I even looked at pictures of buildings and other forms of art that I thought I couldn't possibly recreate into a serial plane.  I saw this one picture of a serial plane that was a design just using the same object over and over again. The object was the same shape and size though out the serial plane.  I thought it looked really cool so I wanted to make something similar so I made my sketch model like that and I was happy about how it was coming out, but it did remind me of an alligator tail which gave me an idea. I thought that I could make an alligator for my project. I was really into the idea because alligators are my favorite animal, so I would want to do something I have an interest in.  I have a wood alligator (picture is above) that I went with to help me reconstruct my project.  The only difficulty I had with making the project was keeping all the pieces together because the project was so long that when it bend it would just snap, so I had to use a lot of hot glue.  The project didn't meet the 12"x12"x12" requirements, but because it was so long, that didn't matter.  I am very pleased with my end result, and so glad it ended up looking like an alligator which I didn't know if it was actually going to.